The Art and Science of Sibling Portraits: A Behind-the-Scenes Look at Perfectly Imperfect Photography
As a Cedar Park newborn photographer, I'm often asked about the magic behind our sibling portraits with newborns. Today, I'm excited to share the step-by-step process I use at Perfectly Imperfect Photography to create those heartwarming family images you cherish.
Step 1: The Shoot
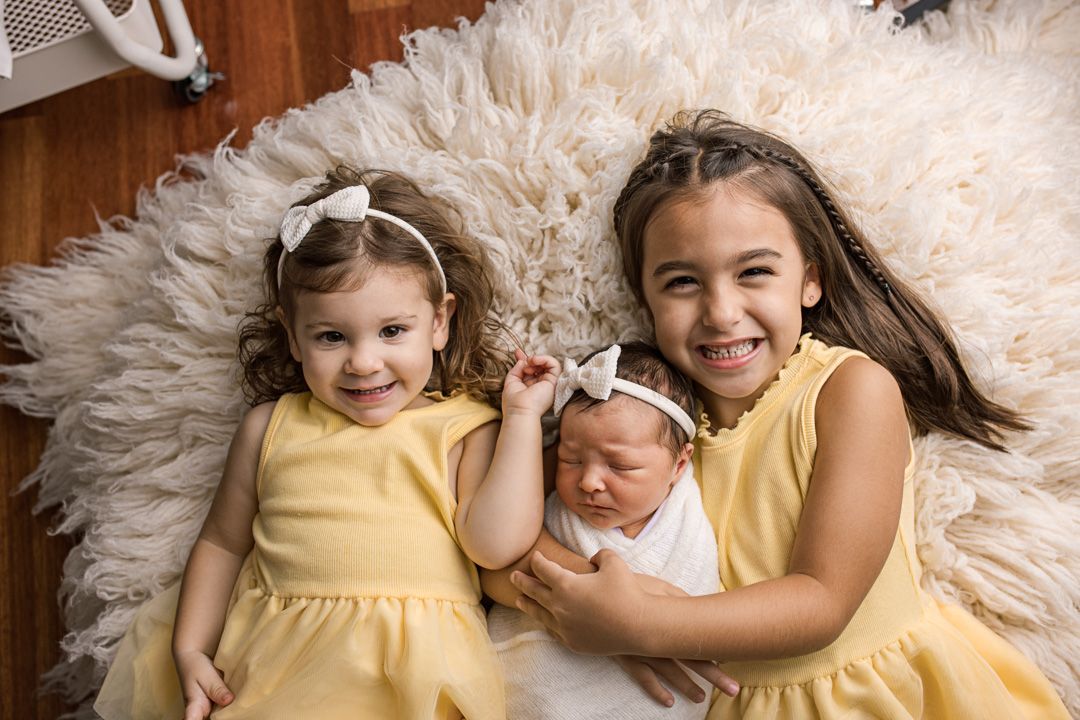
It all begins in my Cedar Park studio. When capturing sibling groups with a newborn, I always take multiple shots. With children and babies, timing is everything – I'm looking for open eyes, genuine smiles, and perfect focus. This approach gives me plenty of material for the next crucial step.
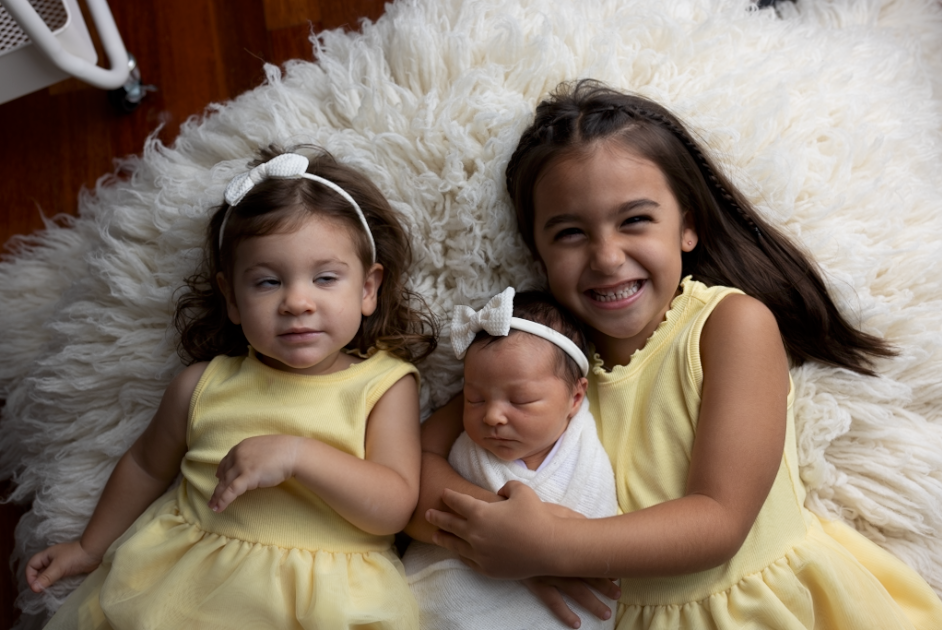
This image has the overall pose I was after, however, the toddler was moving around and not focused on the camera.
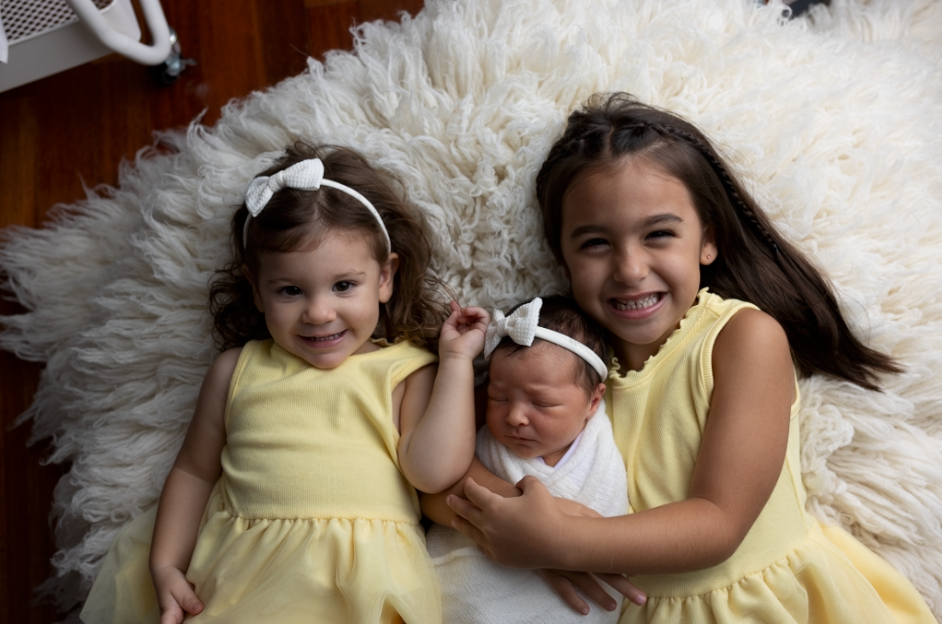
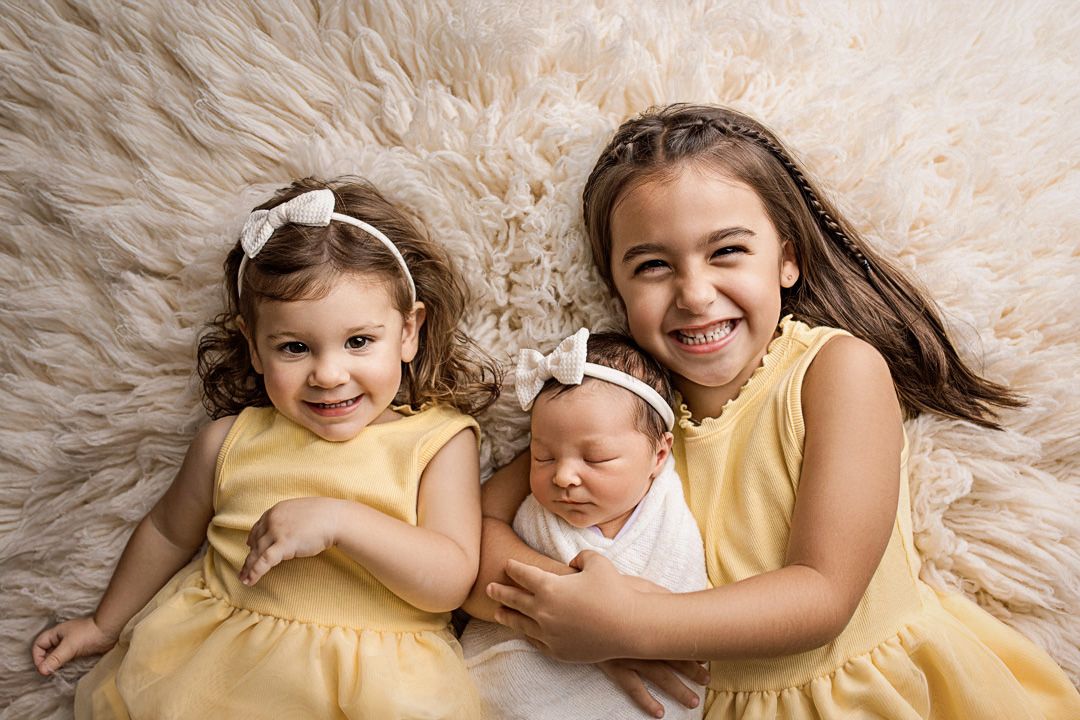
The face of the toddler here was perfect, so luckily I only needed to combine two images to achieve my final.
Step 2: Culling with Narrative Select
After the session, the first stop in my editing process is Narrative Select. This innovative software has revolutionized my workflow. Here's why:
- It displays an up-close sidebar of each face in the photo
- Provides focus scores for each face
- Allows simultaneous viewing of the overall image and close-up faces
This means I can quickly identify the best shots where everyone looks great. Narrative Select has dramatically reduced my culling time, allowing me to move more swiftly to the creative editing phase.
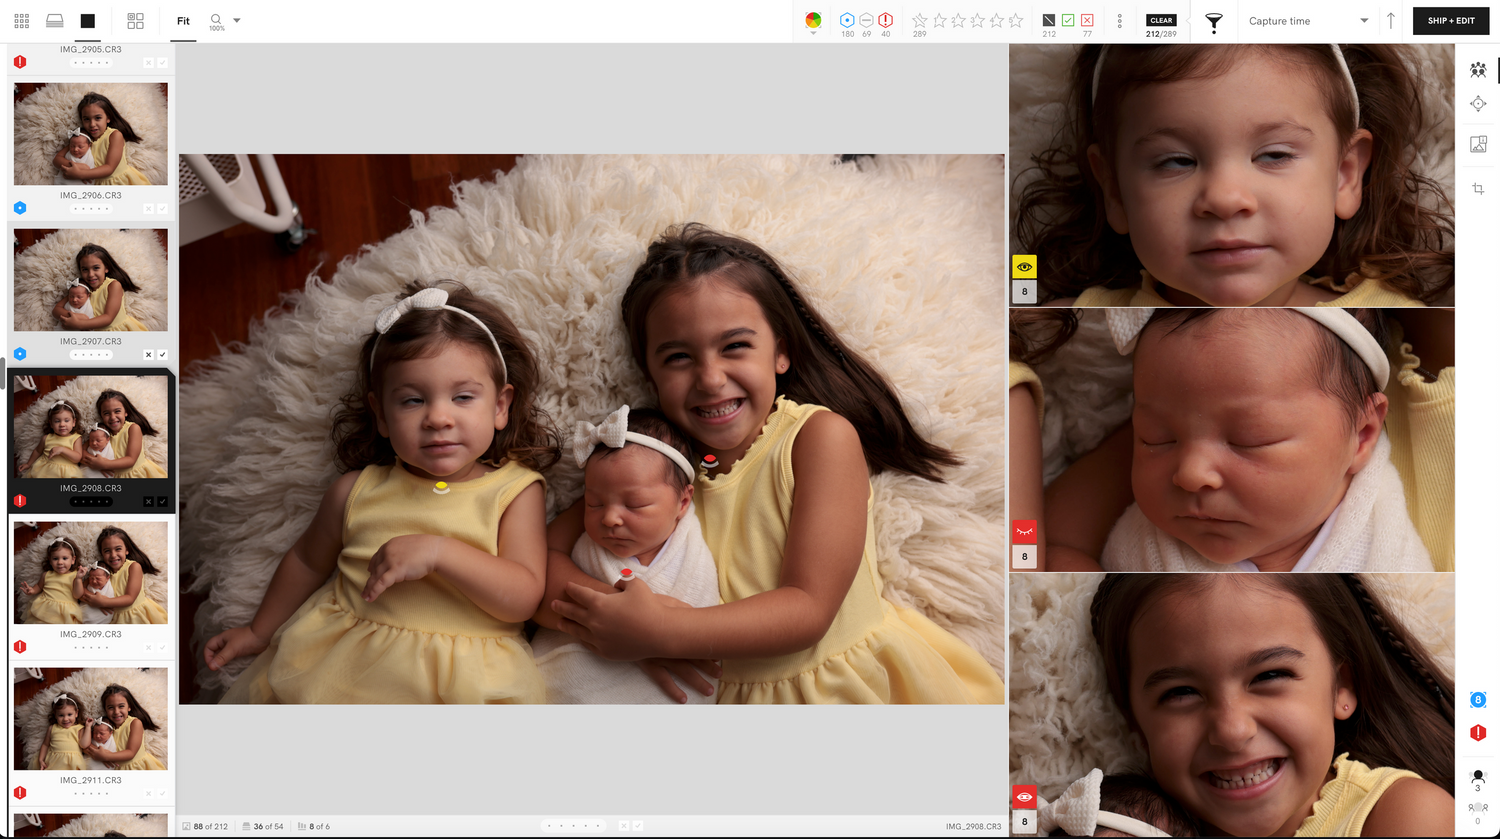
Narrative Select has helped me streamline my culling process dramatically. I can immediately see closeups of each face as well as the overall image, to quickly decide if the image is a keeper or not.
Step 3: Lightroom for Initial Adjustments
Once I've selected the best images, it's time for Adobe Lightroom. Here, I make all my lighting adjustments:
- Exposure corrections
- White balance adjustments
- Contrast and clarity enhancements
- Color grading for that soft, dreamy newborn look
Lightroom sets the stage for the more detailed work to come.
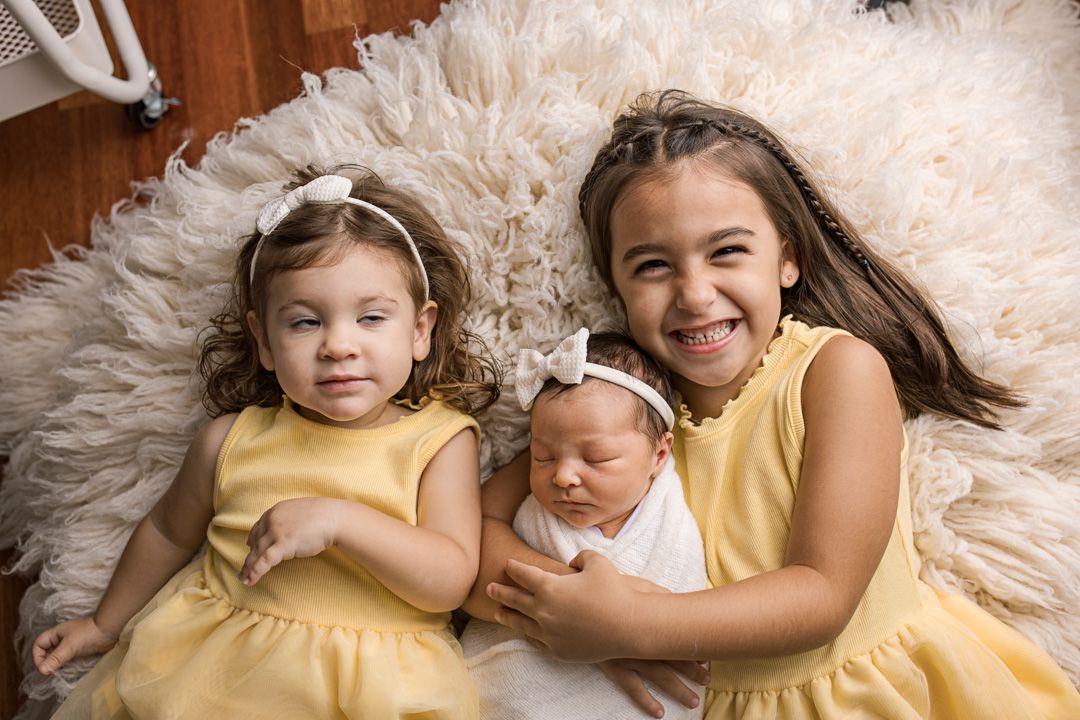
Step 4: Photoshop for Compositing
Next, I move to Adobe Photoshop. This is where the real magic happens for sibling shots. I use Photoshop to combine the best elements from multiple images into one seamless portrait. This might include:
- Swapping a closed eye for an open one
- Replacing a frown with a smile
- Ensuring the newborn looks peaceful and comfortable
The goal is to make these changes imperceptible, creating a natural-looking image that captures the essence of the moment.
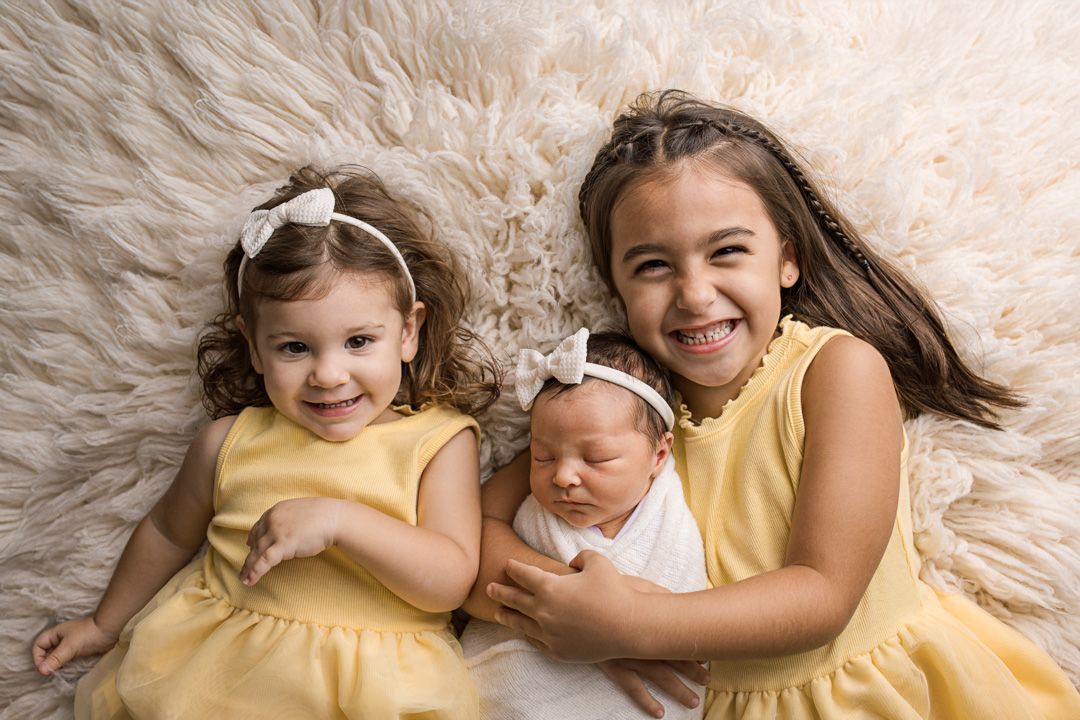
In Lightroom, I selected the two images I wanted to combine, and exported to Photoshop, as smart object layers. I completed the face swap with masking, and I filled in missing background flokati by using generative fill, without any prompts.
Step 5: Evoto for Efficient Skin Editing
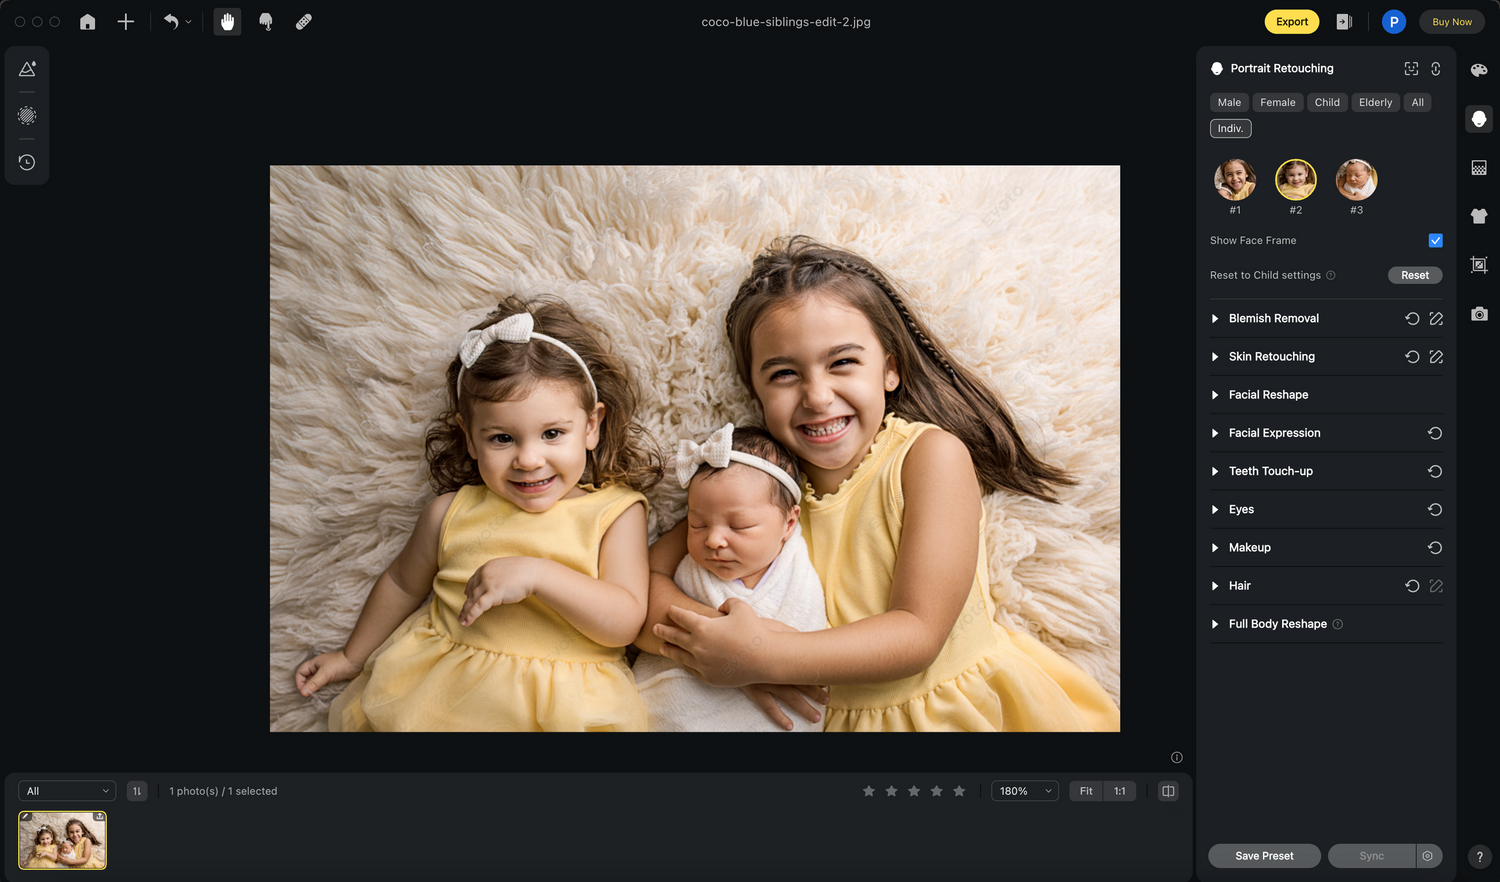
My next stop is Evoto, an AI-powered photo editing software that's changed the game for skin editing. Evoto's intuitive and powerful sliders allow me to:
- Smooth skin while retaining texture
- Remove blemishes and under-eye circles
- Enhance eyes and lips
Evoto is incredibly time-efficient and cost-effective. It's free to use – I only pay for the images I export.
Step 6: Final Touches in Photoshop
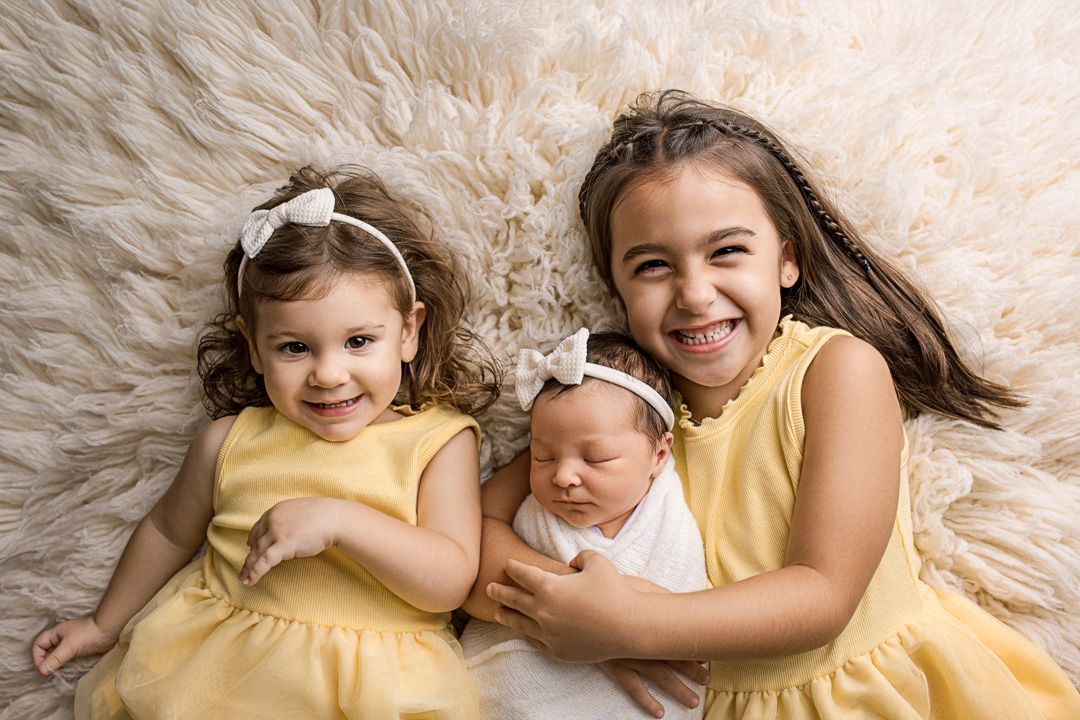
I often return to Photoshop for the finishing touches. This includes:
- Final sharpening
- Any last-minute retouches or adjustments
- Adding specific polishing touches such as rosy cheeks and lips, lashline sharpening, background vignettes or dodging and burning.
This ensures that every detail is perfect before we deliver your images.
Why Our Process Matters for You
As a parent investing in newborn and family photography in the Austin TX area, you want the best possible images. Our editing process allows us to:
- Capture fleeting moments that might otherwise be missed
- Create portraits where everyone looks their best
- Deliver high-quality images efficiently
- Keep costs down, which we pass on to you
Ready to Book Your Newborn and Sibling Session?
If you're expecting or have recently welcomed a new addition to your family, now is the perfect time to capture these precious moments. As your local Cedar Park newborn photographer, I'd be honored to create beautiful portraits of your growing family.
Visit my portfolio to see more examples of my sibling and newborn portraits, or contact me to book your session today!
Looking for more newborn photography tips? Check out our guide on how to select a photographer for your newborn session, or explore our maternity photography services to document your entire journey.
Remember, these fleeting moments with your newborn and their siblings are priceless. Let Perfectly Imperfect Photography in Cedar Park, Texas, help you preserve them forever.
#CedarParkNewbornPhotographer #SiblingPortraits #NewbornPhotography #PerfectlyImperfectPhotography #AustinAreaPhotographer
